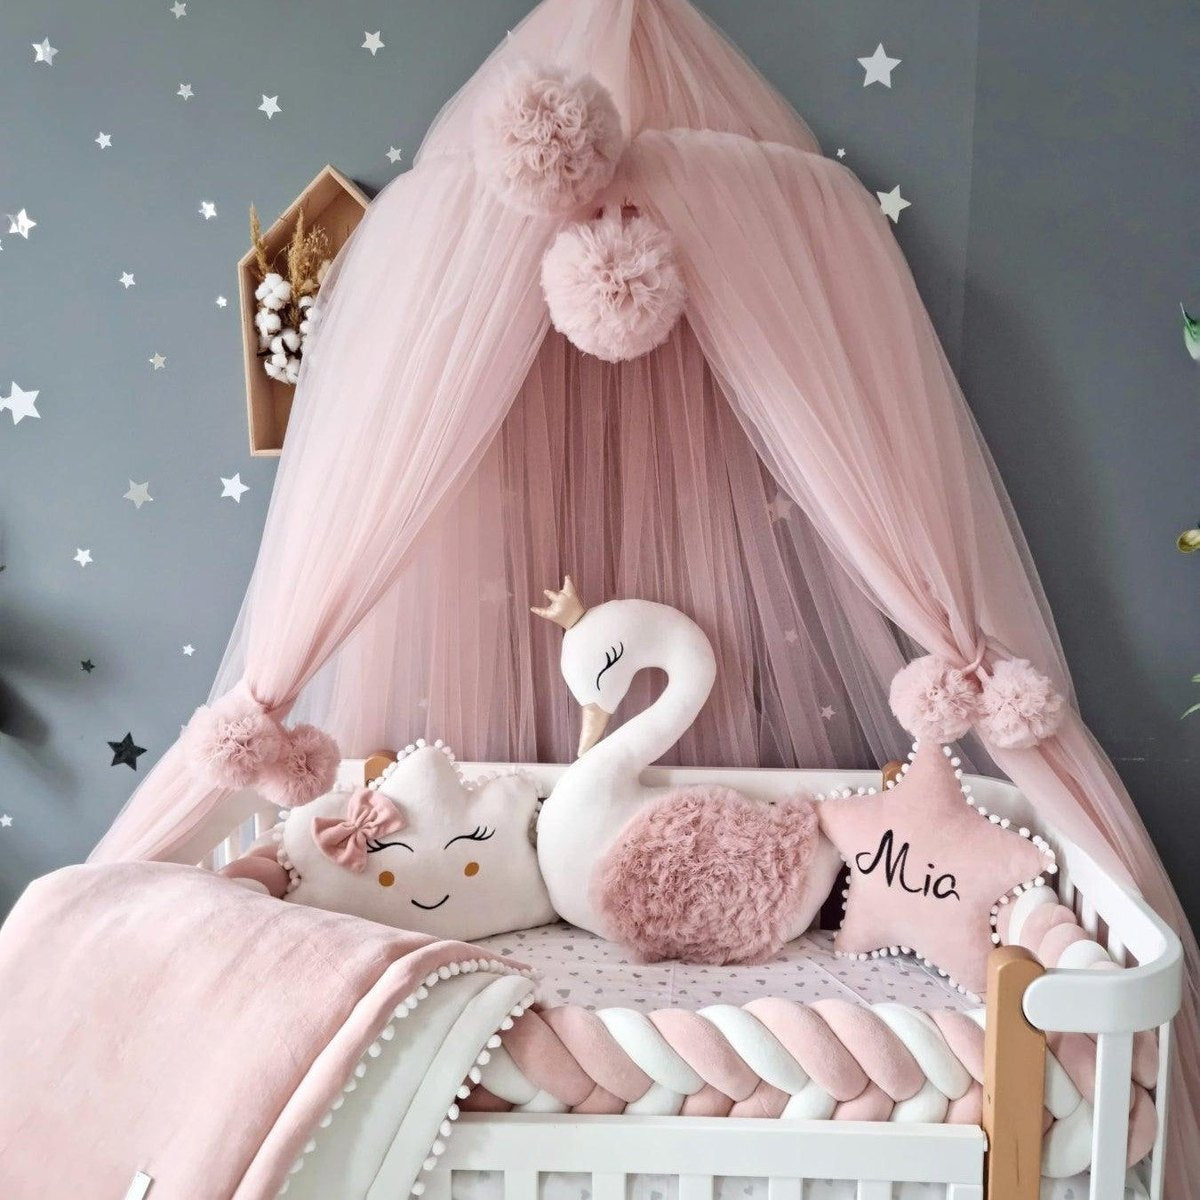

Ein eigenes Nestchen fürs Babybett zu basteln, klingt nach einem tollen Projekt für jedes Kinderzimmer. Aber wussten Sie, dass Kinderärzte Eltern mittlerweile raten, das Babybett für einen sichereren Schlaf komplett leer zu lassen ? Anstatt sich auf perfekte Nähte und schöne Stoffe zu konzentrieren, verwandeln viele handwerklich begabte Eltern ihre selbst gebastelten Nestchen in Wandschmuck oder Spielmatten, um sich keine Sorgen mehr zu machen.
Inhaltsverzeichnis
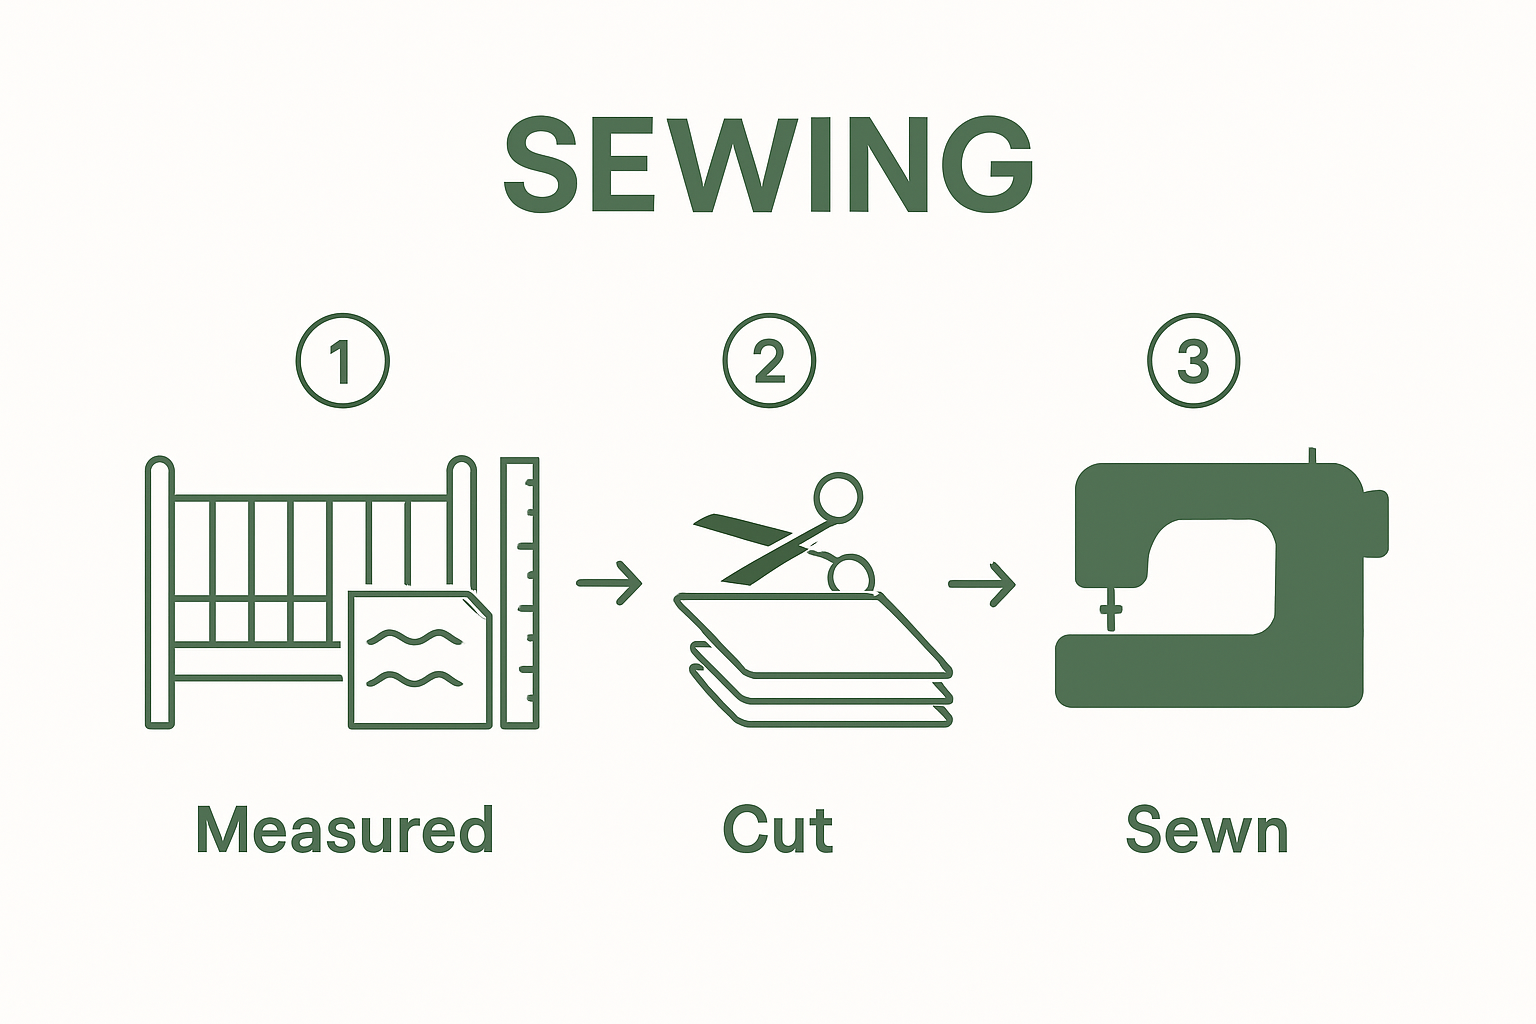
- Schritt 1: Sammeln Sie Ihre Materialien und Werkzeuge
- Schritt 2: Messen Sie Ihr Kinderbett und schneiden Sie den Stoff zu
- Schritt 3: Nähen Sie die Stoßfängerplatten zusammen
- Schritt 4: Bänder anbringen und Stoßstange sichern
- Schritt 5: Überprüfen und installieren Sie den Bettumrandung sicher
Kurze Zusammenfassung
| Kernpunkt | Erläuterung |
|---|---|
| 1. Sicherheit bei Materialien priorisieren | Verwenden Sie atmungsaktive, dicht gewebte Stoffe, um Überhitzung zu vermeiden und die Sicherheit der Bettumrandungen für Kleinkinderbetten zu gewährleisten. |
| 2. Präzise messen | Messen Sie die Maße des Kinderbetts genau aus und fügen Sie Nahtzugaben hinzu, um einen festen Sitz der Stoßfängerpaneele zu gewährleisten. |
| 3. Sicheres Nähen ist unerlässlich | Verstärken Sie die Nähte mit mehreren Nähreihen für Haltbarkeit und Sicherheit in der Stoßfängerkonstruktion. |
| 4. Kabelbinder sicher befestigen | Verwenden Sie zum Befestigen der Stoßstange fest angebrachte Bänder und vermeiden Sie Längen, die eine Strangulationsgefahr darstellen könnten. |
| 5. Führen Sie eine gründliche Endkontrolle durch | Überprüfen Sie die Stoßfänger auf Defekte und stellen Sie sicher, dass sie sicher positioniert sind, bevor Sie sie in das Kinderbett einbauen. |
Schritt 1: Sammeln Sie Ihre Materialien und Werkzeuge
Die Herstellung eines DIY-Bettnestchens erfordert sorgfältige Vorbereitung und die Auswahl der richtigen Materialien, um Sicherheit und Qualität zu gewährleisten. Bevor Sie mit dem Projekt beginnen, ist es wichtig, die wichtigsten Sicherheitsrichtlinien zu verstehen. Die Consumer Product Safety Commission empfiehlt dringend, weiche Gegenstände im Schlafbereich von Kleinkindern zu minimieren. Daher muss Ihr DIY-Bettnestchen mit äußerster Sorgfalt und Präzision hergestellt werden.
Für dieses Projekt benötigen Sie verschiedene spezielle Werkzeuge und Materialien, um ein sicheres und funktionales Bettnestchen zu bauen. Die Materialauswahl ist nicht nur für die Optik, sondern auch für die Sicherheit Ihres Babys entscheidend. Empfohlene Materialien sind :
- Atmungsaktives, leichtes Baumwollgewebe
- Hochwertige Wattierung oder weiche Polsterung
- Scharfe Stoffschere
- Maßband
- Nähmaschine oder Nadel und Faden
- Zylinderstifte
- Bügeleisen und Bügelbrett
- Lineal oder Richtschnur
Wählen Sie atmungsaktive, dicht gewebte Materialien , die mehrere Wäschen überstehen. Baumwolle ist eine ausgezeichnete Wahl, da sie die Luftzirkulation fördert und das Überhitzungsrisiko verringert. Vermeiden Sie dicke, flauschige Stoffe, die die Atmung behindern oder Wärmestau verursachen können.
Bei diesem Projekt ist Messpräzision entscheidend. Messen Sie die Maße Ihres Kinderbetts sorgfältig, da Standardbetten leicht in der Größe variieren können. Notieren Sie mit einem Metallmaßband die genaue Innenlänge und -höhe Ihrer Bettseiten. Addieren Sie zu jedem Maß etwa fünf Zentimeter für Nahtzugaben und eine sichere Befestigung.
Überprüfen Sie vor dem Kauf jedes Material auf Qualität und Haltbarkeit. Billigere Stoffe können leicht ausfransen oder reißen, was die strukturelle Integrität des Nestchens beeinträchtigt. Waschen Sie den ausgewählten Stoff vor, um ein Einlaufen zu verhindern und chemische Behandlungen zu entfernen, die die empfindliche Haut Ihres Babys reizen könnten.
Sobald Sie alle Materialien beisammen haben, legen Sie diese an einem sauberen, gut beleuchteten Arbeitsplatz bereit. Stellen Sie sicher, dass Ihre Nähwerkzeuge scharf und in gutem Zustand sind. Eine stumpfe Schere kann zu ungleichmäßigen Schnitten führen und die Konstruktion des Nestchens beeinträchtigen. Durch die sorgfältige Vorbereitung Ihres Arbeitsplatzes und der Materialien legen Sie den Grundstein für ein sicheres, professionell gefertigtes Nestchen, das dem Komfort und der Sicherheit Ihres Babys höchste Priorität einräumt.
Nachfolgend finden Sie eine Tabelle mit einer Zusammenfassung der wesentlichen Materialien und Werkzeuge, die Sie zum Erstellen eines DIY-Bettnestchens benötigen, einschließlich ihrer spezifischen Zwecke, um Ihnen bei der effizienten Organisation Ihres Projektaufbaus zu helfen.
| Artikel | Spezifikation/Typ | Zweck |
|---|---|---|
| Baumwollstoff | Atmungsaktiv, dicht gewebt | Äußere Stoßfängerabdeckung, sicher und waschbar |
| Wattierung oder weiche Polsterung | Hochwertiges, leichtes | Innenpolsterung für Weichheit und Schutz |
| Stoffschere | Scharf, langlebig | Präzises Zuschneiden von Stoff und Watte |
| Maßband | Metall, flexibel | Genaue Messung der Kinderbett- und Stoffmaße |
| Nähmaschine/Nadel & Faden | Stabile Nadel, passender Faden | Sicheres Nähen von Paneelen und Bändern |
| Zylinderstifte | Edelstahl | Halten Sie die Stoffbahnen beim Nähen in Position |
| Bügeleisen und Bügelbrett | Standardhaushalt | Bügeln von Nähten, Stoffen und Bändern für ein professionelles Finish |
| Lineal oder Richtschnur | 18 Zoll oder länger | Gerade Schnitte führen und Nahtzugaben messen |
Schritt 2: Messen Sie Ihr Kinderbett und schneiden Sie den Stoff zu
Beim Abmessen und Zuschneiden des Stoffes für Ihr selbstgemachtes Bettnestchen ist Präzision oberstes Gebot. Das Nationwide Children's Hospital betont, wie wichtig korrekte Messungen für einen sicheren Sitz sind. Bevor Sie mit dem Zuschneiden beginnen, müssen Sie die genauen Innenmaße Ihres Bettes erfassen und dabei mögliche Abweichungen von den Standardgrößen berücksichtigen.
Legen Sie zunächst Ihr Metallmaßband an jeder Innenseite des Kinderbetts aus. Messen Sie Länge und Höhe sorgfältig und notieren Sie die Maße mit absoluter Präzision. Bei den meisten Standardbetten sollten Sie zu jedem Maß zwei Zoll hinzufügen, um Nahtzugaben zu berücksichtigen und eine sichere Befestigung zu gewährleisten. Dieser zusätzliche Stoff bietet Flexibilität beim Nähen und ermöglicht leichte Anpassungen.
Wählen Sie als Schneideunterlage eine große, ebene Fläche mit guter Beleuchtung. Eine spezielle Schneidematte oder ein sauberer, glatter Tisch mit einem Schutztuch eignen sich am besten. Breiten Sie den Stoff Ihrer Wahl flach aus und achten Sie darauf, dass keine Falten oder Knicke entstehen, die Ihre Maße beeinträchtigen könnten. Verwenden Sie eine scharfe Stoffschere und ein Lineal, um saubere, gerade Schnitte zu erzielen.
Profi-Tipp : Bevor Sie den Stoff zuschneiden, erstellen Sie am besten zunächst eine Papierschablone**. Verwenden Sie Kraftpapier oder großes Bastelpapier, um Ihre Stoßfängerpaneele zu modellieren. So können Sie die Passform testen und Anpassungen vornehmen, ohne den Stoff zu gefährden. Übertragen Sie Ihre Maße auf das Papier, schneiden Sie die Schablone aus und machen Sie eine erste Probepassung im Kinderbett.
Wenn Sie weitere Tipps zum Aufbau Ihres Kinderbetts benötigen, lesen Sie unseren umfassenden Leitfaden zur Auswahl des perfekten Kinderbetts . Diese zusätzliche Ressource bietet wertvolle Einblicke in die Gestaltung der idealen Schlafumgebung.
Gehen Sie beim Zuschneiden des Stoffes langsam und sorgfältig vor. Schneiden Sie jeweils ein Teilstück zu und überprüfen Sie die Maße vor jedem Schnitt. Einheitliche Teilgrößen sind entscheidend für einen professionell aussehenden, symmetrischen Stoßfänger.
Überprüfen Sie Ihre Schnitte, indem Sie alle Stoffbahnen nebeneinander auslegen. Sie sollten gleichmäßig groß sein, saubere Kanten aufweisen und nicht ausgefranst sein. Kleine Unregelmäßigkeiten können korrigiert werden, bei größeren Abweichungen kann jedoch ein erneuter Schnitt erforderlich sein. Geduld und Präzision bei diesem Schritt bilden die Grundlage für ein wunderschön gefertigtes, sicheres Bettnestchen.
Schritt 3: Nähen Sie die Stoßfängerplatten zusammen
Das Nähen der Stoßfänger erfordert Präzision, Geduld und Liebe zum Detail. Dieser wichtige Schritt verwandelt Ihre sorgfältig zugeschnittenen Stoffstücke in eine zusammenhängende Schutzbarriere für das Kinderbett Ihres Babys. Die American Academy of Pediatrics betont, wie wichtig es ist, eine sichere Schlafumgebung zu schaffen, und macht jeden Stich zu einem entscheidenden Bestandteil Ihres Projekts.
Vorbereitung ist das A und O, bevor Sie mit dem Nähen beginnen. Stellen Sie sicher, dass Ihre Nähmaschine sauber ist und Sie hochwertiges Garn verwenden, das farblich zu Ihrem Stoff passt oder diesen ergänzt. Wenn Sie mit der Hand nähen, wählen Sie eine stabile Nadel, die dem Stoffgewicht entspricht. Überprüfen Sie die Spulenspannung und führen Sie einen Probestich an einem Stoffrest durch, um die gleichmäßige Naht zu gewährleisten.
Legen Sie zunächst die ersten beiden Stoffbahnen mit den rechten Seiten aufeinander. Stecken Sie die Kanten mit Stecknadeln senkrecht zur Nahtlinie zusammen. Stecken Sie die Nadeln alle 7,5 bis 10 cm, um ein Verrutschen des Stoffes beim Nähen zu verhindern. Achten Sie beim Zusammenfügen der Stoffbahnen auf eine gleichmäßige Nahtzugabe von üblicherweise 1,25 bis 1,9 cm. Dies sorgt für strukturelle Integrität und ermöglicht gleichzeitig leichte Flexibilität.
Bügeln Sie beim Zusammenfügen der Paneele jede Naht nach dem Nähen mit einem warmen Bügeleisen auseinander. Diese Technik sorgt für ein saubereres, professionelleres Ergebnis und reduziert die Masse. Arbeiten Sie systematisch und fügen Sie die Paneele in einer logischen Reihenfolge zusammen, um die Ausrichtung beizubehalten und mögliche Verdrehungen oder Verformungen zu vermeiden.
Wenn Sie mehr über die Sicherung von Babybettzubehör erfahren möchten, finden Sie in unseren zusätzlichen Ressourcen zusätzliche Hinweise. Denken Sie daran, dass jede Naht zur allgemeinen Sicherheit und Haltbarkeit des Nestchens beiträgt.
Achten Sie beim Anbringen der letzten Platte besonders darauf, dass der Stoßfänger eine durchgehende, glatte Schleife bildet, die sich eng an das Innere des Kinderbetts anschmiegt. Überprüfen Sie Ihre Maße durch eine vorläufige Anprobe und prüfen Sie, ob sich der Stoßfänger reibungslos bewegt und gleichmäßig an jeder Seite des Kinderbetts anliegt.
Bevor Sie diesen Schritt abschließen, überprüfen Sie Ihre Arbeit sorgfältig. Achten Sie auf:
- Konstante Stichlänge
- Sichere Nahtverbindungen
- Keine losen Fäden
- Glatte, ebene Plattenoberflächen
- Präzise Eckausrichtungen
Ein gut genähter Nestchen sollte stabil und dennoch flexibel sein, klare Linien aufweisen und keine Falten oder Unebenheiten aufweisen. Nehmen Sie sich Zeit, arbeiten Sie methodisch und denken Sie daran, dass Präzision wichtiger ist als Schnelligkeit, um ein sicheres und schönes Babybett-Zubehör zu schaffen.
Schritt 4: Bänder anbringen und Stoßstange sichern
Der Safe Sleep for Babies Act bietet wichtige Informationen zur Sicherheit von Babybettwäsche, weshalb dieser Schritt außerordentlich wichtig ist. Das Anbringen der Bänder erfordert sorgfältige Aufmerksamkeit und ein Verständnis der potenziellen Risiken, die mit Babybettzubehör verbunden sind.
Die Vorbereitung der Bänder ist entscheidend für die Sicherheit Ihres Stoßfängers. Schneiden Sie vier bis sechs Stoffbänder mit einer Länge von etwa 20 bis 25 cm und einer Breite von 2,5 cm zu. Verwenden Sie den gleichen Stoff wie für Ihren Stoßfänger oder ein passendes Material, das zum Stil Ihres Kinderzimmers passt. Falten Sie jedes Band der Länge nach mit den rechten Seiten zusammen, bügeln Sie es und nähen Sie es entlang der offenen Kante, sodass ein schmaler, stabiler Streifen entsteht.
Bevor Sie die Bänder anbringen, drücken Sie die fertigen Stoßfängerplatten sorgfältig an, um Falten oder Unebenheiten zu beseitigen. Positionieren Sie die Bänder symmetrisch in regelmäßigen Abständen entlang der Innen- und Außenkanten des Stoßfängers. Die Platzierung ist wichtig. Verteilen Sie die Bänder gleichmäßig, um ein mögliches Verrutschen oder Verziehen beim Einbau in das Kinderbett zu verhindern.
Verstärken Sie beim Nähen von Krawatten die Befestigungspunkte mit mehreren Nähten. Sichern Sie jede Krawatte sorgfältig mit einem Kastenstich oder einer Doppelnaht, um ein mögliches Auftrennen zu verhindern. Ziel ist es, einen Befestigungspunkt zu schaffen, der leichtem Ziehen standhält, ohne die Integrität des Stoffes zu beeinträchtigen.
Erfahren Sie mehr über die Befestigung von Babybettzubehör und vertiefen Sie Ihr Verständnis für die richtige Installation. Diese zusätzlichen Ressourcen bieten wertvolle Einblicke in die Schaffung einer sicheren Schlafumgebung.
Testen Sie die Festigkeit jedes Kabelbinders, indem Sie vorsichtig daran ziehen und den Befestigungspunkt untersuchen.
 Die Bänder sollten lang genug sein, um eine sichere Schleife um das Gitter des Kinderbetts zu bilden, aber nicht so lang, dass eine Strangulationsgefahr besteht. Als Faustregel gilt, dass die Bänder nach dem Knoten nicht länger als 15 bis 20 cm sein sollten.
Führen Sie vor der endgültigen Installation eine umfassende Inspektion durch:
- Stellen Sie sicher, dass alle Verbindungen symmetrisch platziert sind
- Überprüfen Sie, ob die Nähte sicher und verstärkt sind
- Stellen Sie sicher, dass keine losen Fäden oder ausgefransten Kanten vorhanden sind
- Stellen Sie sicher, dass mit Bändern eine einfache, saubere Schleife entsteht
- Testen Sie die Bindungsstärke, ohne den Stoff zu beschädigen
Denken Sie daran: Die Gestaltung eines schönen Kinderzimmeraccessoires ist zwar aufregend, die Sicherheit muss jedoch immer Ihr oberstes Gebot sein. Jede sorgfältige Naht und jede durchdachte Platzierung der Bänder trägt dazu bei, eine sichere Umgebung für Ihr Kleines zu schaffen.
Schritt 5: Überprüfen und installieren Sie den Bettumrandung sicher
Die Consumer Product Safety Commission gibt wichtige Hinweise zur Schlafumgebung von Säuglingen. Dieser letzte Inspektionsschritt ist daher für die Sicherheit Ihres Babys von entscheidender Bedeutung. Führen Sie vor der Installation eine umfassende Prüfung Ihres handgefertigten Bettnestchens durch, um absolute Qualität und Sicherheit zu gewährleisten.
Eine erste Sichtprüfung ist entscheidend . Breiten Sie Ihren fertigen Stoßfänger auf einer sauberen, gut beleuchteten Fläche aus und untersuchen Sie jeden Zentimeter sorgfältig auf mögliche Mängel. Achten Sie auf lose Fäden, ungleichmäßige Nähte oder strukturelle Schwächen, die die Integrität des Stoßfängers beeinträchtigen könnten. Streichen Sie mit den Händen über jede Naht und ertasten Sie dabei raue Kanten oder mögliche Stoffablösungen.
Testen Sie die Bänder sorgfältig. Jedes Band sollte mit mehreren Nähten sicher befestigt sein und leichtem Ziehen standhalten, ohne sich aufzulösen. Achten Sie darauf, dass die Bänder weder zu kurz noch zu lang sind. Achten Sie auf eine ausgewogene Länge, die eine sichere Befestigung ermöglicht, ohne dass Strangulationsgefahr besteht.
Informieren Sie sich über die Sicherheit von geflochtenen Bettumrandungen, um Ihr Verständnis für bewährte Vorgehensweisen zu verbessern. Die Gestaltung eines schönen Kinderzimmeraccessoires ist zwar spannend, aber die Sicherheit muss immer Ihr oberstes Gebot sein.
Achten Sie bei der Montage des Nestchens darauf, dass es eng an der Innenseite des Kinderbetts anliegt. Das Nestchen sollte flach an den Seiten des Bettes anliegen, ohne sich zu wölben oder Lücken zu bilden. Messen Sie mehrmals , um die genaue Passform zu bestätigen und sicherzustellen, dass keine losen Teile vorhanden sind, die sich bei Bewegungen des Kindes verschieben könnten.
Führen Sie vor der endgültigen Platzierung eine umfassende Sicherheitsbewertung durch:
- Stellen Sie sicher, dass alle Bindungen symmetrisch platziert sind
- Überprüfen Sie, ob die Nähte sicher sind
- Stellen Sie sicher, dass keine losen Fäden vorhanden sind
- Testen Sie die Stabilität des Stoßfängers bei leichtem Druck
- Sorgen Sie für eine gleichmäßige Verteilung im Inneren des Kinderbetts
Hier finden Sie eine Checkliste zur schnellen Übersicht, die Ihnen dabei hilft, jeden wichtigen Inspektions- und Installationsschritt zu überprüfen und sicherzustellen, dass der Stoßfänger vor der Verwendung oder Umnutzung den Sicherheitsstandards entspricht.
| Inspektionsschritt | Was zu überprüfen ist | Bestanden/Nicht bestanden |
|---|---|---|
| Visuelle Inspektion | Keine losen Fäden oder ungleichmäßige Nähte | |
| Nahtintegrität | Führen Sie die Hände entlang aller Nähte, um raue Kanten oder Schwachstellen zu finden | |
| Bindungsstärke | Jeder Kabelbinder ist sicher befestigt und hält leichtem Ziehen stand | |
| Sicherheit bei der Krawattenlänge | Krawatten sind nicht übermäßig lang oder zu kurz (6-8 Zoll geknotet) | |
| Passformprüfung | Der Stoßfänger liegt flach und sitzt eng, ohne Falten oder Lücken | |
| Stabilitätstest | Der Stoßfänger bleibt stabil, wenn er leicht gegen die Seiten des Kinderbetts gedrückt wird | |
| Gleichmäßige Verteilung | Gleichmäßige Platzierung der Bänder und Stoßfänger im Inneren des Kinderbetts |
Wichtig: Trotz sorgfältiger Herstellung raten aktuelle Sicherheitsempfehlungen dringend von der Verwendung von Bettumrandungen jeglicher Art ab. Kinderärzte raten einstimmig dazu, Bettchen komplett leer zu lassen und nur ein Spannbettlaken zu verwenden. Ihre schön gearbeitete Umrandung lässt sich besser als dekorativer Wandbehang oder weiche Spielmatte verwenden, wobei die Sicherheit Ihres Babys über ästhetische Aspekte gestellt werden sollte.
Ein letzter Hinweis zur Vorsicht: Besprechen Sie die Sicherheit im Kinderzimmer immer mit Ihrem Kinderarzt. Auch wenn Ihr DIY-Projekt mit viel Sorgfalt und handwerklichem Geschick durchgeführt wird, sorgt die Beratung eines Experten dafür, dass Sie die absolut sichersten Entscheidungen für Ihr Kind treffen.
Bereit für einen sichereren, stressfreien Kindergarten?
Sie haben gerade die praktische Reise zur Herstellung eines DIY-Bettnestchens erkundet, einschließlich der sorgfältigen Messung, des Nähens und des Platzierens der Bänder, die für Sicherheit und Komfort erforderlich sind. Doch viele Eltern stellen fest, dass das Basteln mit der Hand trotz aller Bemühungen überwältigend sein kann, insbesondere wenn Sie sich um die Schlafumgebung Ihres Babys keine Sorgen machen möchten. Wenn Sie sich hinsichtlich der Haltbarkeit des Stoffes oder der Sicherheit der Nähte unsicher sind oder auch nur Zweifel haben, nachdem Sie aktuelle Sicherheitsempfehlungen gelesen haben, wissen Sie, dass Sie nicht allein sind. Wir bei Kari Studio verstehen die emotionale Dringlichkeit, ein sicheres Kinderzimmer zu schaffen, und den Druck, jedes Detail gleich beim ersten Mal richtig zu machen. Für alle, die sowohl Schönheit als auch professionelle Sicherheit wünschen, bietet unsere kuratierte Auswahl an handgefertigten Nestchenpolstern für Mädchenbetten und geflochtenen Jungenbettnestchen zum Verkauf die Sicherheit, die Sie verdienen – ohne Kompromisse bei Komfort oder Stil.

Schluss mit dem Zweifeln an jeder Naht. Entdecken Sie jetzt https://kari-studio.com und entdecken Sie durchdachtes Babybettzubehör für Eltern, denen Sicherheit am wichtigsten ist. Geben Sie Ihrem Baby den ruhigen Schlafplatz, den es braucht. Kaufen Sie noch heute ein und gestalten Sie ein Kinderzimmer, dem Sie wirklich vertrauen können.
Häufig gestellte Fragen
Welche Materialien werden für die Herstellung eines DIY-Bettnestchens empfohlen?
Um die Sicherheit und den Komfort Ihres Babys zu gewährleisten, werden atmungsaktive, leichte Baumwollstoffe und hochwertige Wattierungen oder weiche Polster empfohlen.
Wie sollte ich mein Kinderbett für ein individuelles Nestchen ausmessen?
Messen Sie die Innenlänge und -höhe der Seiten Ihres Kinderbetts genau mit einem Metallmaßband. Fügen Sie zu jedem Maß etwa zwei Zoll für die Nahtzugabe hinzu.
Wie nähe ich die Stoßfängerteile am besten zusammen?
Legen Sie die Stoffbahnen mit den rechten Seiten aufeinander, stecken Sie sie zusammen und achten Sie auf eine gleichmäßige Nahtzugabe von 1,25 bis 1,9 cm. Bügeln Sie die Nähte nach dem Nähen auseinander, um ein sauberes Ergebnis zu erzielen.
Warum ist es wichtig, bei der Herstellung eines Bettnestchens die Sicherheitsrichtlinien zu beachten?
Sicherheitsrichtlinien minimieren die Risiken, die mit weicher Bettwäsche in Kinderbetten verbunden sind. Wenn Sie diese einhalten, stellen Sie sicher, dass die Stoßstange die Atmung Ihres Kindes nicht behindert oder eine Gefahr für es darstellt.
Empfohlen
- So installieren und befestigen Sie ein geflochtenes Bettumrandungsstück
- Sind geflochtene Bettumrandungen eine sichere Option für moderne Kinderbetten?
- So wählen Sie das perfekte geflochtene Bettnestchen passend zu Ihrem Kinderzimmer Dé
- Welche Faktoren sollten Sie bei der Auswahl des richtigen geflochtenen Kinderbetts beachten